Aka...The Most Boring and Confusing Post EVERRRRRRR. {Still want to read on?!?!? Haha!}
I received a couple requests asking how I painted the stripes on the bathrooms walls, so here is my best effort to explain to you guys how it all went down. Believe me, this process was NOT an exact science like I thought it would be. Due to our wonky, old walls, my exact measuring went out the window the minute I started putting the tape up on the walls.
First things first…the paint colors. We had almost no time at all to pick out paint and get it up on the walls. The minute our spackling was done, the tile guys were scheduled to start…and then the minute they were done, the fixtures were ready to be set and installed. We had a very small window to paint the ceiling and get our base color on the walls.
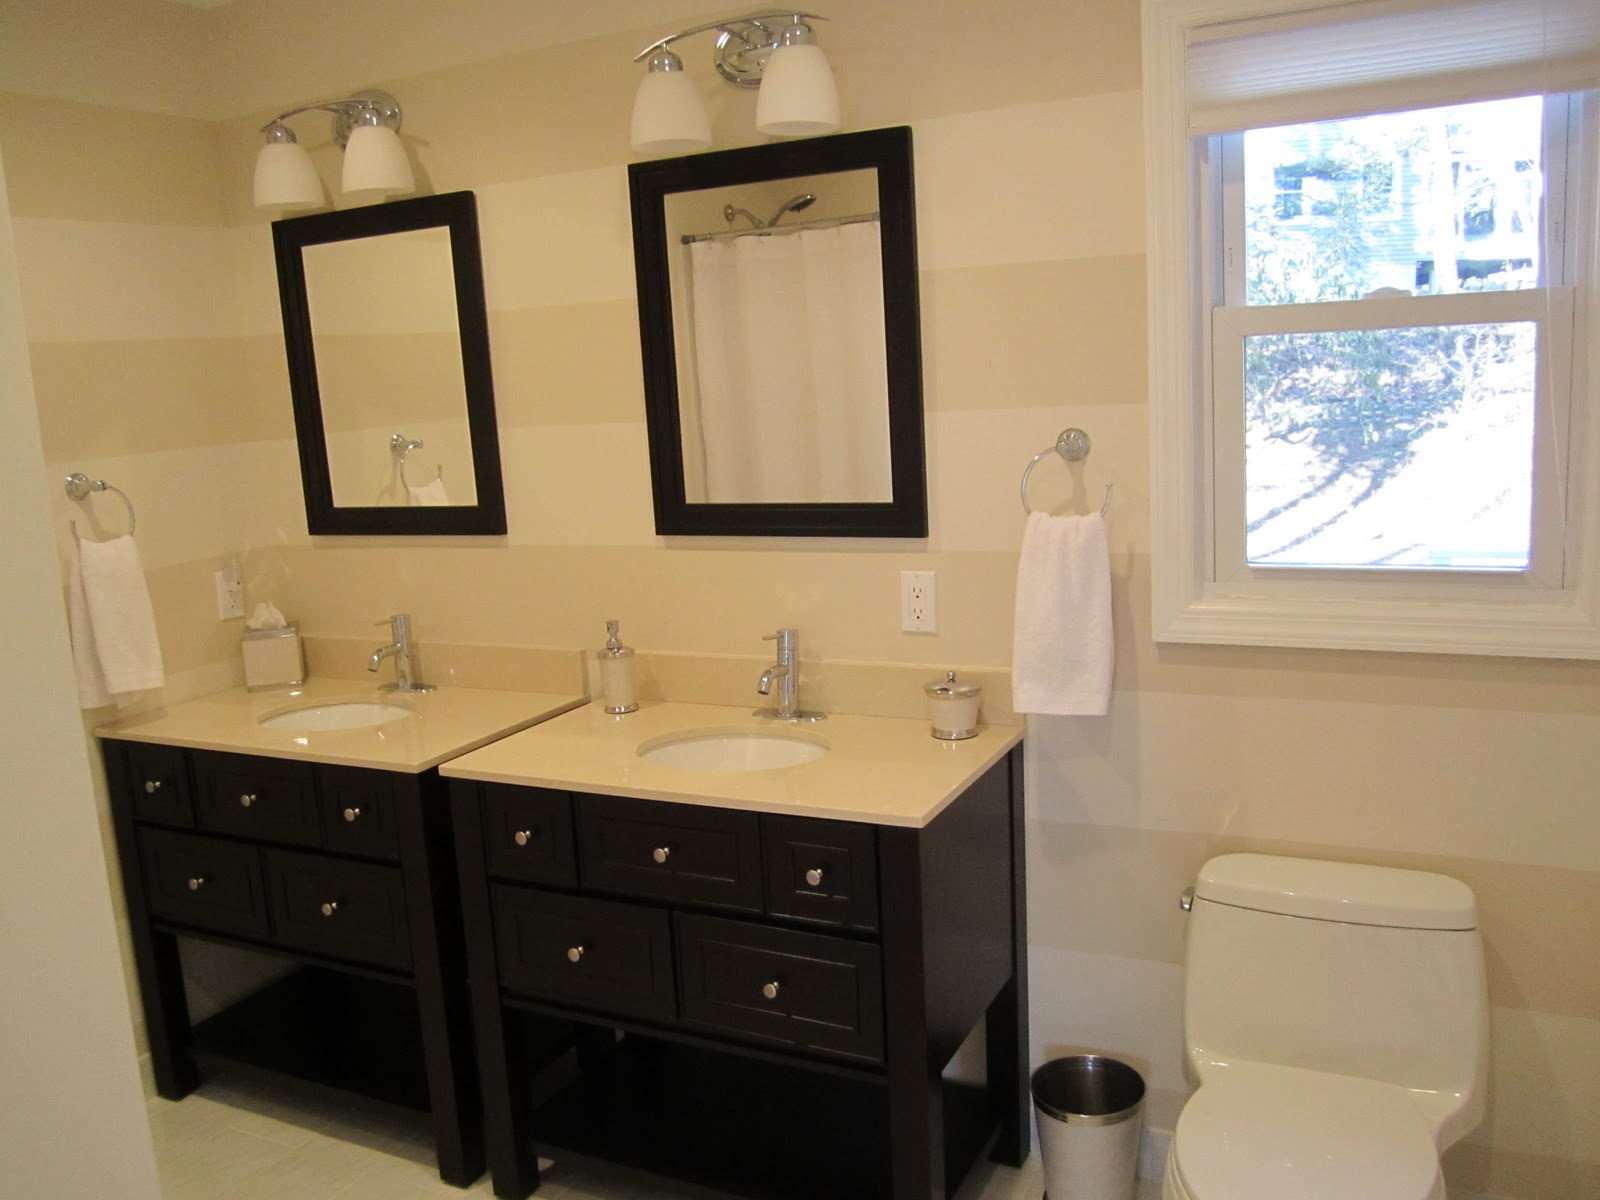
I knew I wanted a tone-on-tone stripe for the bathroom…and I also knew I wanted to keep it neutral. I figured if I kept the stripes neutral, I could easily switch out accessories to change the color scheme in the bathroom. You know, so when I get antsy for some change, I wouldn’t have to paint over the stripes that I was about to tirelessly put up. ;)
And since grays dominate most of the house, I wanted to go for a creamy beige in the bathroom. I selected a few paint swatches and quickly narrowed it down to my favorite one...Behr’s 730C.
Out of the three colors on the swatch, I chose the two lightest, White Clay and Sandstone Cove. I wanted to keep the bathroom light and bright since it only has one tiny window.
Because of the major time crunch to paint the bathroom, we decided it’d be best to just get a solid base of primer {to seal the new walls} and two coats of the lighter color {White Clay} on the walls before fixtures got in our way. We had to put the stripe project off until we had the time {and motivation} for it.
A couple weekends went by and no stripes went up on the walls. First it was the holidays, and then I was fighting off a nasty sinus infection. When I was finally feeling better I decided that I had to get the stripes up at that moment or it’d never get done.
I began by using a measuring tape to see how thick I wanted my stripes to be. I originally thought I’d want them to be about 12 inches wide, but when I put that length of the measuring tape on the wall I realized it was too thick for the look I was going for. I decided 10 inches would be a good length. Since the measuring tape doesn't lay flush against the wall I knew I needed something else to mark off my measurements. Unfortunately, I don’t have a yard stick, and I couldn’t find a ruler {stupid unpacking and misplaced items}…so the wheels in my head started turning to see what else I could use. Suddenly, I came up with an idea and ran into the kitchen. I grabbed a note pad my mother-in-law got for me to jot down grocery lists. I measured it, and it was about 9 ¾ inches long…just short of 10 inches, but close enough for me!!


I ripped a sheet off and ran back to the bathroom. I hopped up onto my step stool and began marking off my stripes. I placed the paper flush with the ceiling and used a pencil to put a small mark at the bottom of the paper. This gave me a mark 9 ¾ inches down from the ceiling. {Here is an after-the-fact picture of what I did...hopefully it helps to show what I did better than my description haha.}
Then I took the piece of paper and put the top of it at the mark that I had just made, and used the pencil to place a new mark at the bottom of the paper. This gave me a mark 9 ¾ inches beneath the first mark I made. {One more after-the-fact picture to help illustrate...}
I continued this pattern, so I had evenly spaced marks, all the way down the wall. After I was done with my first column of marks, I moved over a couple feet and repeated the same process all over again. I continued this pattern over and over again until I had marked up all three walls I was putting stripes on.
After all my marks were made, I needed to decide which stripes would be which color. This was an important step because it determined the placement of the tape. If a stripe was going to stay the lighter color already on the wall, then the tape would go “into” that stripe, so that the new color being painted would be the full 9 ¾ inches wide. This makes the stripes that are staying the same color look more narrow when taped off because the painters tape is on the inside of that stripe, as opposed to how the painters tape is on the outside of the stripes that will be the new color. For example, the highest stripe in my bathroom was going to stay the lighter color, so I placed my tape above the first mark I made on the wall…and then I put the next line of tape below the second mark I made.

{I know this sounds super confusing, and I’m not doing a very good job describing it. Hopefully my marked up pictures somewhat help to illustrate what I mean. I wish I took more detailed pictures of this process, but I was so zoned into the project that I barely paused for pictures. My apologies everyone!!!}
So back to my taping…
When I started taping off my first stripe {the highest stripe on the wall}, on my first wall, I realized very quickly that if I tried to line the tape up with my marks that were all 9 ¾ inches from the ceiling, this process was NOT going to be pretty…or straight. What I totally forgot to take into account during measuring was the fact that our ceilings and walls are all wonky since we have an older home. So, while my measurements were all the same distance from the ceiling, the ceiling was not level. This lead to me taping, re-taping, stepping down off the stool, re-taping and shouting for my hubby to come see if it looked like a straight line when I thought I had it perfect, and on and on.
I came to the conclusion that my stripe next to the ceiling would never be even in thickness, but the line defining it at the bottom should be straight…so once I got the tape straight, I worked off of that line. {Yes, that meant I was not going to be using ALL OF THOSE FRIGGIN’ MARKS I JUST PUT UP ON THE WALL, but no one ever said making things pretty was easy, right?!?! I knew this process would be lots of trial and error, and I am totally admitting, there was quite a bit of error.}
So with a straight tape line on the wall, I used my handy-dandy little piece of paper and re-marked under the straight tape line. I started at the left side…marked 9 ¾ below the taped off line, then again halfway across the wall and then on the right side of the wall. I continued this process all the way down the wall until I was finished taping off wall numero uno.
After wall #1, I thought I had everything all figured out after. HAAA, yea right! I now had to continue the stripe from the first wall onto wall #2, keeping the correct stripe thickness in mind. The marks I had originally put on the wall did NOT line up…at all…even a little bit. So I started with the highest stripe again. I placed the beginning of my tape where wall #1’s tape left off, and continued the stripe from that left corner all the way to the right corner. {Lots of up and down step stool and standing on vanities in this process.} Oh, and using precise measurements did not work for this stripe…or any of the remaining stripes, for that matter. It was all about eyeballing and using my trusty little piece of paper like a spacer. As long as the width of the stripe seemed reasonably close to the length of the paper, then I knew I was good to go. A couple of times, I had to yell for my hubby to get a fresh set of eyes to check out my progress.
And of course, halfway through, I ran out of painters tape. The hubby and I made a quick trip to Home Depot to pick up more tape and to Moe’s {if you don’t have one by you, it’s a shame…LOVE their burritos and rice bowls haha} for some take-out. After dinner, I got a second wind and finished taping the remaining stripes.
After the tape was up, it was time to paint. I used the lighter paint color that was already on the wall to “seal” my tape where I’d be painting the new stripe color.
Unfortunately, for some odd reason, the tape started bubbling on me. I have never had this issue with painters tape before, but I was NOT a happy camper. I had spent so much time on the project and I thought it was all for nothing, and that my stripes would be ruined. Out of desperation, I quickly ran my finger over the edge of the tape and wet paint to sort of smooth out the ripples and mush it into place. Luckily, doing just that kept the tape pretty much sealed. But it definitely made me have a moment of panic and added a very messy step to the project.
Thankfully, by the time I got to the areas where the new painters tape was used, this step was unnecessary. The Scotch Blue Painter's Tape with Edge Lock worked like a charm. If only I had it from the beginning...but who would have known I would run into these issues with my tried and true Blue Painters Tape. Ehhh, you live and you learn. :)
Anywho, after I got the first wall painted with the original color, I started the process of rolling on the new stripe color. It went on very well, and only needed one coat {probably because the colors were so similar}. I used a 6inch foam roller for the process and it was the perfect size for the stripes I was doing. I worked one wall at a time...painted the original wall color onto the tape edges, from highest stripe to lowest stripe...then painted on the new stripe color, from highest stripe to lowest stripe...then peeled the tape off the wall WHILE STILL WET, from the highest stripe to the lowest stripe. {It is very important to peel the tape off while the paint is still wet. If you wait for it to dry, you run the risk of peeling paint off the wall.} After one wall was done, I moved on to the next. There were only a couple of areas where the paint slightly bled through on the regular painters tape. {I'm talking millimeters, people...but yes, I still had to touch them up because I'm a freak perfectionist like that.} With a steady hand and a good brush, I was able to fix the small flaws in just a few minutes.
I started the job around 2:30PM and {including my supply run, football game checks and dinner break} I finished up around 1:00AM.
So…there it is. The WHOLE process of my stripe saga. I really am sorry if this was the most boring post ever, and I’m even more sorry that I probably did a pretty bad job explaining things. {It’s tough to explain how you were just “winging” a project haha.}
Thank you soooo much for your patience…if you are still even reading this, HA!!!!
P.S. – Please feel free to ask any questions, because I’m almost positive that I mistakenly left out some details. :)