Monday, March 24, 2014

Adding Some Spring...& A Giveaway!!


Spring has finally sprung!!  Well at least that is what my calendar is telling me.  I’m hoping Mother Nature gets the memo soon because I want warmer temperatures and blooming flowers ASAP!  Remaining snow piles be gone!!

To hold me over until that happens, I’ve decided it’s time to start adding spring trends into our home décor.  My go-to for spring decorating consists of a few things…pops of color, flowers and shine!  To me, nothing says spring more than these elements.  Luckily, to create a look like that in your home, you just need the simple addition of a few accents to already existing vignettes and rooms.  Pillows, candles, boxes, frames, flowers, succulents, throws or art can go a long way in transitioning a space.  A complete overhaul or spending a fortune just isn’t necessary to have your home looking on trend.

Nowadays I do most of my shopping online.  I don't have to leave the comfort of my own couch to access so many awesome stores like West Elm, World Market, Amazon and Home Depot.  While looking to spring-ify {totally a word} our home, I came across a few a few West Elm accessories I just couldn't get off my mind and quickly put them into my shopping cart.  Then I headed to Coupons.com to search for any West Elm coupon codes I could apply to my order.  After that it was time to check out and impatiently wait for my goodies to arrive!

Since my home has a whole lot of cool blues going on, I wanted to add some warm pinks and extra shine to energize our space.  Plus, nothing says spring quite like flowers...so when I spied a pair of gorgeous West Elm clearance candlesticks that mimic the bloom of a flower, I just couldn't resist.  I knew they'd look perfect paired with some colorful accents on top of the West Elm silver lacquered tray.  And to top it all off, I added a little DIY painting and fresh tulips.


What are your favorite ways to add spring trends to your home?  Don't forget to check out the other 14 talented bloggers below and enter our fab giveaway to win $150 to West Elm or Target!!! :)


a Rafflecopter giveaway

Thank you so much to Coupons.com for providing me with a gift card for this post, and for sponsoring the giveaway!!

Wednesday, March 19, 2014

Great Room Rugs.

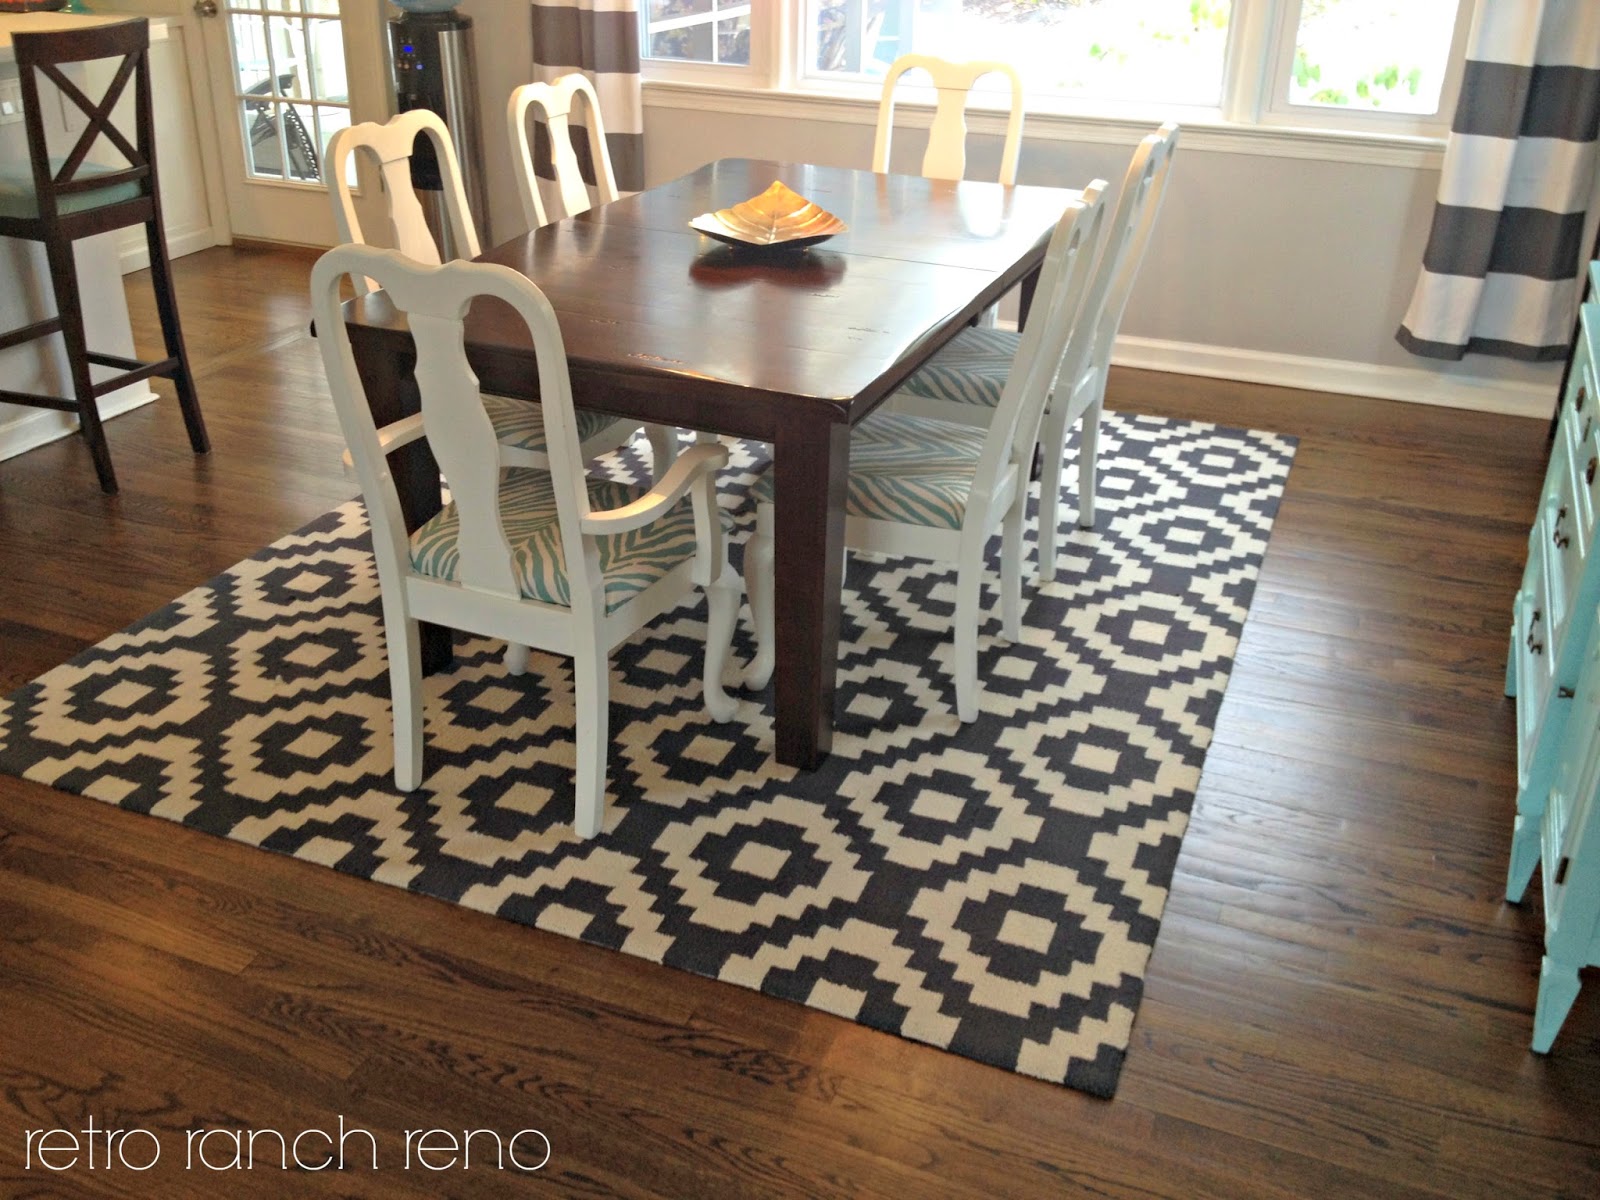
Also known as, the wonderful double-rug swap that swept me off my feet.  Not too long ago I placed an order with RugsUSA for several rugs...one of them belonging to our living room.  I was pleased with all of them, and we lived happily every after....that is until I laid my eyes on some RugsUSA newbies during a 70% off sale.

Homespun Trellis in black
Windsor Overdyed Grove in turquoise


I'm weak.  I caved.  I couldn't help it!  The price? So good.  The size?  Even better.  Before I knew it, hubby and I were rolling out the red teal carpet and falling in love with our house all over again.  


We've had these beauties for quite some time.  You can even see them all the way back in our Modern & Fresh Fall Home Tour months ago.  I'm not sure why it's taken me so long to properly introduce you guys...in fact, I'm surprised I didn't shout my love from the top of my blogging lungs!  Their bold color and pattern add something special to our space.

And since I've received a couple requests to see how our home is looking these days, here's a peak from January...after my post-Christmas pare down.  I decided to keep our home pretty monochromatic for the winter. Lots of blues, with pops of black and white.  It felt so clean and calm after weeks filled with holiday decor.


Now that spring is {hopefully} around the corner, I can't wait to add some vibrant color to our space.  I'm dreaming of some teal and pink...and maybe yellow.  Plus, adding in a little more metallic never hurt anyone!! ;)

Tuesday, February 11, 2014

Pattern Play...Blogger Challenge

When Chelsea from Pinterior Designer contacted me about taking part in a "pattern" blogger challenge for the month of February, I couldn't have said yes fast enough!

I love using pattern in design, especially in the form of fabric.  It helps to add interest to a space without committing major time or dollars, and it often acts as the "thing" that ties a space together.

This year {actually, this happens every year}, after we removed all of our holiday decor, I was craving a clean and de-cluttered space.  I wanted to keep accessories to a minimum and have our great room feel clean and calming.  Aside from the gray, blues and gold that are always present in the room, I wanted to add pops of black and white throughout the space.

To get the B&W pop on our console table, I knew I could add a great fabric instead of relying on accessories with more visual weight.  I already had great striped pillow covers from H&M on our couch, so I went for a small spotted fabric that would tie in nicely.

I started by pinning the long sides {probably should have ironed the fabric first, but I was l-a-z-y}...


Then I sewed, removing the pins as I went along...


Then I pinned the short sides...


Sewed one last time, and done-zo {well after I finally ironed it}!


I love the way the small spots make a quiet statement and play nicely with the bold patterned tray I added on top.


Using fabric on the tables in our home has become the norm for me, and I like that it allows me to add another layer of color or pattern without a lot of effort.  Plus, it helps protect my painted furniture too!  Who doesn't love a piece that pulls double-duty?!

Now head on over to the other fabulous ladies who accepted the Pattern Play Challenge this month, and let me know what your favorite project is! :)

Image Map
Image Map

Friday, February 7, 2014

The Real Star of the Blog...

Those of you who follow me on Instagram {@retroranchreno} know who the real star of this blog is.  Yup, I'm talking about this guy...


PERNY!!

If you want to know more about him, and see more of that furry face, head over to Julia's blog, Cuckoo 4 Design.  She started an amazing series a few weeks ago, and I'm so honored to be guest posting for it!


Happy Friday, everyone! :)

Tuesday, February 4, 2014

My Version of Valentine's Crafting...

The people closest to me know that I love to switch up our home decor quite often.  I use different seasons and holidays as my excuse to swap patterns, colors and textures in and out of our space all year long.  But shockingly, that doesn't mean I go all out for every holiday on the calendar.  One of the holidays I've never decorated for is Valentine's Day.  And while I'm still not going all out...thanks to a super sweet invite to a blog hop full of talented ladies, I've decided to try my hand at a little Valentine's Day crafting! :)

14 VALENTINE'S DAY  PROJECTS

For my project, I wanted to make some art to add a little "love" to our mantel.  I went shopping in my crap craft room {one of the few times I've been thankful for my hoarded stash taking up an entire room} and gathered my supplies: empty frames, cardstock, a heart-shaped lever punch, glue, ruler and x-acto knife.


I know my color scheme doesn't scream Valentine's Day, but it fits perfectly in our home and I wanted to prove to myself I could make something Valentine's-ish without using pink and red.

I started by cutting out my backgrounds.  I used the filler paper that came with the frames as templates, and cut clean lines with my ruler and x-acto knife. {Please ignore my much-in-need-of-a-manicure-nails.}


Then I started punching holes...errrr, hearts.


I lined things up as I punched along so I could get an idea of how many I'd need.


When I had enough hearts cut out, I laid everything into place.  Then I got out the trusty Elmer's to glue each heart down, one by one.  


The key is to not put a ton of glue on the back...just a dab.  And since you have the grid already laid out, you can slide the hearts around until the placement looks right.  I didn't measure anything for this project.  In fact, that was my requirement.  I didn't want to measure anything! ;)

After the first grid was done, I decided to use my next frame to write out an X and O.  Again, I just eyeballed the placement, and glued after I laid everything in place.


Once the glue dried, it was time to pop them into their frames, and voilà!  Instant Valentine's Day art for our mantel! :)


Now, before you go, please make sure you enter to win a $140 Target gift card and check out the 13 other amazing Valentine's Day projects!!  You won't want to miss any of them! :)

Target gift card giveaway a Rafflecopter giveaway Valentine's Day Projects 1
Valentine's Day Projects 4
Valentine's Day Projects 2
Valentine's Day Projects3