Showing posts with label gold. Show all posts

Tuesday, May 5, 2015

DIY Jewelry Organizer.

Today I'm taking a little break from our before and after series to show off a project I wrapped up not too long ago.  Don't worry, it'll be back soon...showing off our 1954 cabinets, in all their painted glory!

If you follow my Instagram account, it's no surprise to you that I love jewelry.  I'm a huge fan of the statement necklace and I have wayyyy more than is necessary for just one person.

Here's a snap shot of my current collection, and embarrassingly enough, this is after I purged 2/3 of what I used to have.


Since we moved into our house a few years ago, I've slowly been making my way through different areas of our home and clearing it out!  I've focused my attention on my closet and jewelry more times than I want to admit, and each time, I still found a ton to sell/donate/toss.

Now I'm not announcing that I'm on my way to becoming a minimalist...it's just not in the cards for this girl (although I so wish I could do it!!), but I do find something incredibly therapeutic about cleaning up and clearing out unnecessary material possessions.  For me, it frees up space in both our house and my mind.  And hopefully what I've left myself with is a collection of things I actually use, actually want and actually love.

Then it's time to organize said things.

When it comes to my clothing, jewelry and shoes, if I don't see it, I won't wear it.  I need visual access to my wardrobe to keep it fresh in my mind.  This is probably definitely because I have too much clothing, and therefore can't remember all of my options.  What happens then?  I wear 20% of my wardrobe 80% of the time.  (FYI, I'm well aware this is a first world problem and I sound like a huge brat right now.  I'm hanging my head in shame as I type...)

So when it came time to create a jewelry organizer, I knew I needed to see it all.  And since this organizer was going to be hung on a wall in our bedroom, I needed the display to somewhat double as art.

Throughout the process of this DIY, I had mixed emotions about how it was turning out.  Thankfully, I stayed the course, kept patient and it all worked out!  I really love the statement it makes against our dark walls and the immediate access to all of my pretty, sparkly things. ;)

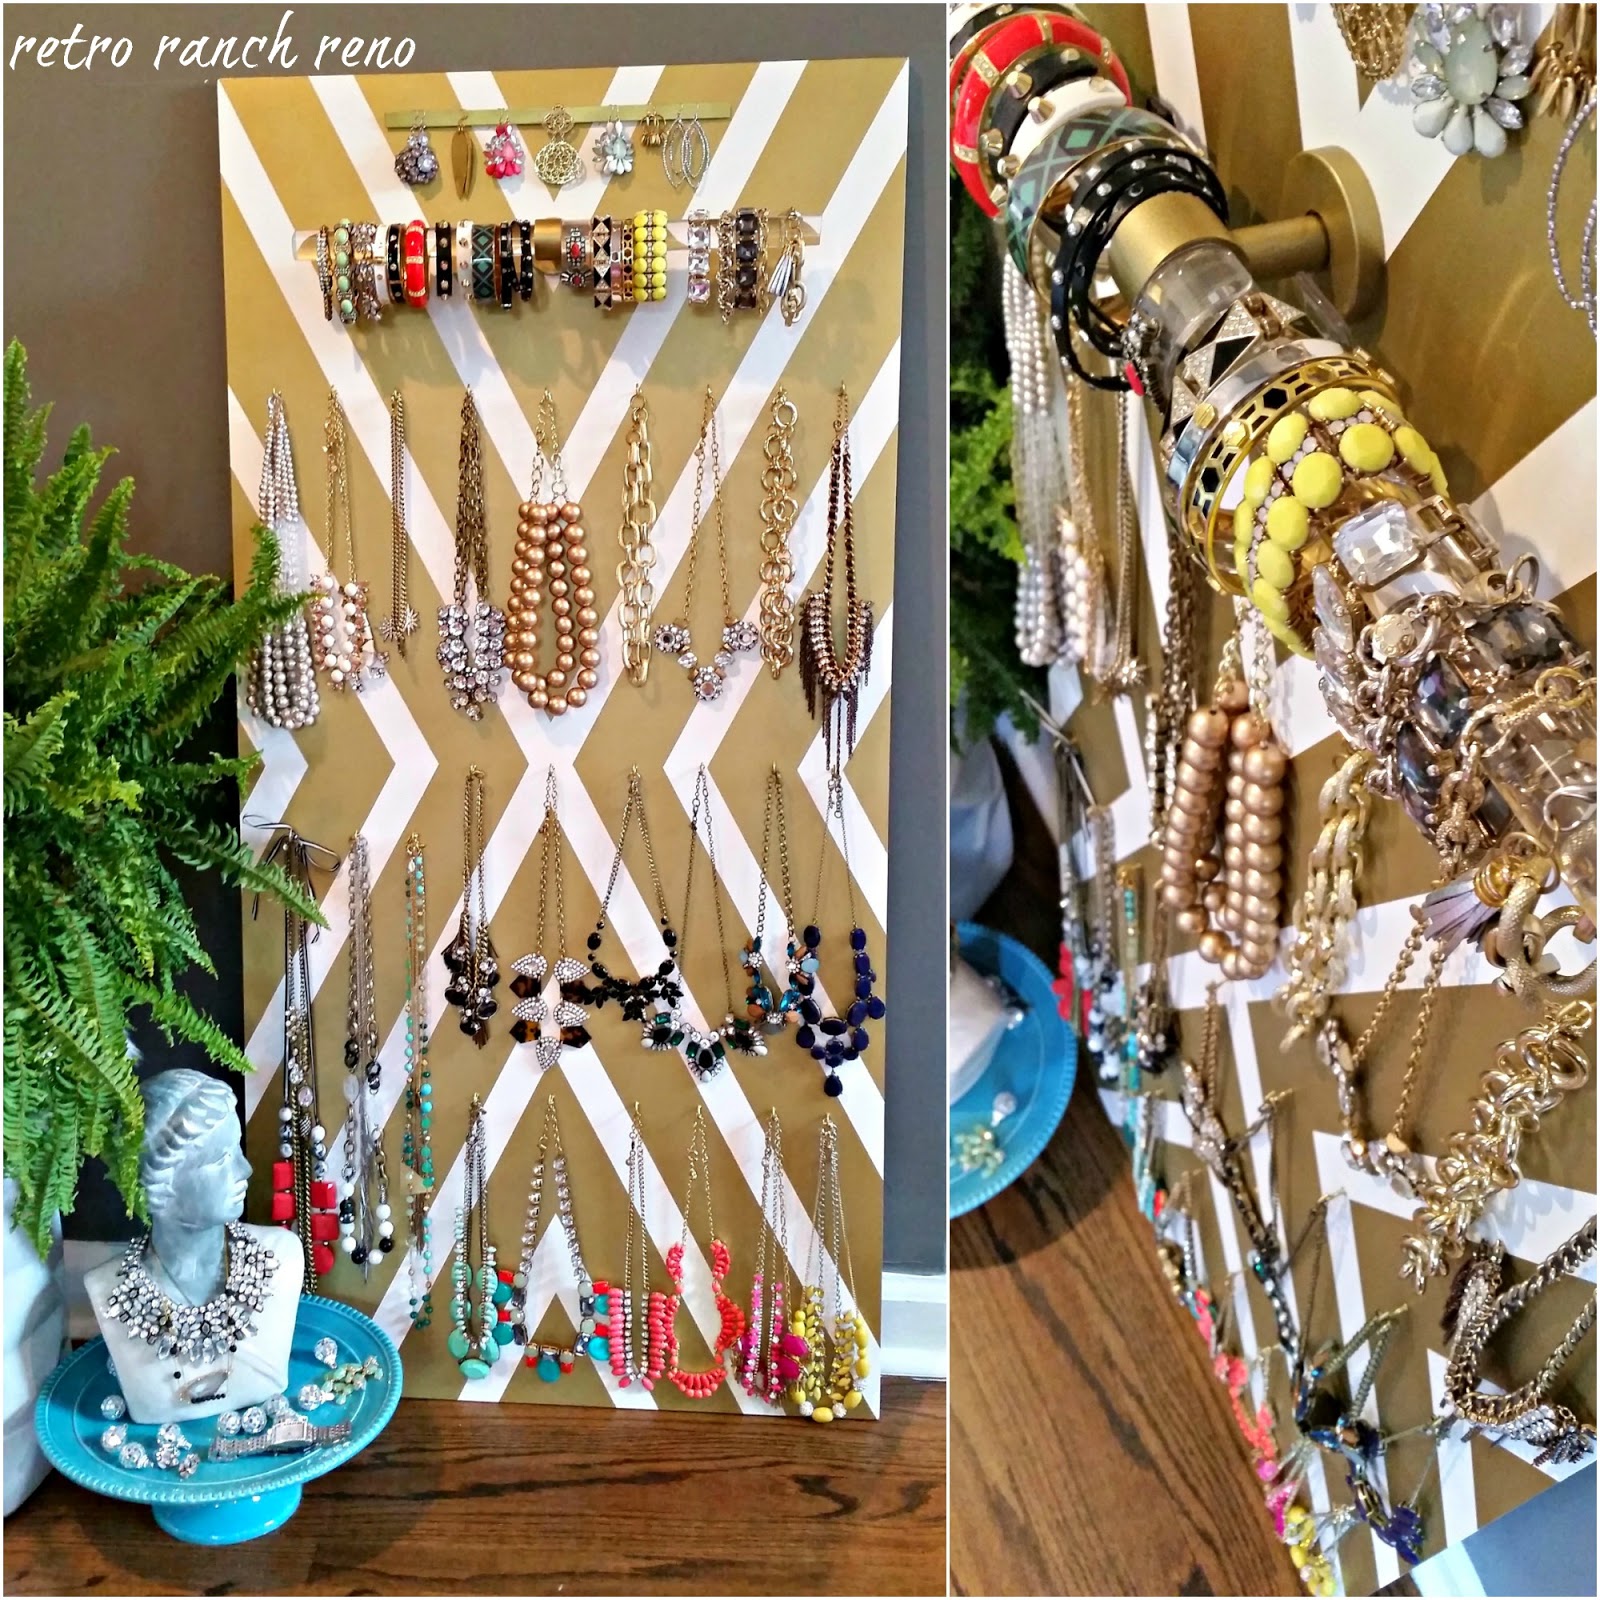


Stay tuned for the wing-it-as-I-go tutorial!  And let's take bets on how long it takes me to actually hang this on my wall. ;)  We all know how I feel about hanging things...UGH!


-----------------------------------------------------------------------------------------------------------

Linked up to Work it Wednesday here!

Monday, March 24, 2014

Adding Some Spring...& A Giveaway!!


Spring has finally sprung!!  Well at least that is what my calendar is telling me.  I’m hoping Mother Nature gets the memo soon because I want warmer temperatures and blooming flowers ASAP!  Remaining snow piles be gone!!

To hold me over until that happens, I’ve decided it’s time to start adding spring trends into our home décor.  My go-to for spring decorating consists of a few things…pops of color, flowers and shine!  To me, nothing says spring more than these elements.  Luckily, to create a look like that in your home, you just need the simple addition of a few accents to already existing vignettes and rooms.  Pillows, candles, boxes, frames, flowers, succulents, throws or art can go a long way in transitioning a space.  A complete overhaul or spending a fortune just isn’t necessary to have your home looking on trend.

Nowadays I do most of my shopping online.  I don't have to leave the comfort of my own couch to access so many awesome stores like West Elm, World Market, Amazon and Home Depot.  While looking to spring-ify {totally a word} our home, I came across a few a few West Elm accessories I just couldn't get off my mind and quickly put them into my shopping cart.  Then I headed to Coupons.com to search for any West Elm coupon codes I could apply to my order.  After that it was time to check out and impatiently wait for my goodies to arrive!

Since my home has a whole lot of cool blues going on, I wanted to add some warm pinks and extra shine to energize our space.  Plus, nothing says spring quite like flowers...so when I spied a pair of gorgeous West Elm clearance candlesticks that mimic the bloom of a flower, I just couldn't resist.  I knew they'd look perfect paired with some colorful accents on top of the West Elm silver lacquered tray.  And to top it all off, I added a little DIY painting and fresh tulips.


What are your favorite ways to add spring trends to your home?  Don't forget to check out the other 14 talented bloggers below and enter our fab giveaway to win $150 to West Elm or Target!!! :)


a Rafflecopter giveaway

Thank you so much to Coupons.com for providing me with a gift card for this post, and for sponsoring the giveaway!!

Tuesday, February 4, 2014

My Version of Valentine's Crafting...

The people closest to me know that I love to switch up our home decor quite often.  I use different seasons and holidays as my excuse to swap patterns, colors and textures in and out of our space all year long.  But shockingly, that doesn't mean I go all out for every holiday on the calendar.  One of the holidays I've never decorated for is Valentine's Day.  And while I'm still not going all out...thanks to a super sweet invite to a blog hop full of talented ladies, I've decided to try my hand at a little Valentine's Day crafting! :)

14 VALENTINE'S DAY  PROJECTS

For my project, I wanted to make some art to add a little "love" to our mantel.  I went shopping in my crap craft room {one of the few times I've been thankful for my hoarded stash taking up an entire room} and gathered my supplies: empty frames, cardstock, a heart-shaped lever punch, glue, ruler and x-acto knife.


I know my color scheme doesn't scream Valentine's Day, but it fits perfectly in our home and I wanted to prove to myself I could make something Valentine's-ish without using pink and red.

I started by cutting out my backgrounds.  I used the filler paper that came with the frames as templates, and cut clean lines with my ruler and x-acto knife. {Please ignore my much-in-need-of-a-manicure-nails.}


Then I started punching holes...errrr, hearts.


I lined things up as I punched along so I could get an idea of how many I'd need.


When I had enough hearts cut out, I laid everything into place.  Then I got out the trusty Elmer's to glue each heart down, one by one.  


The key is to not put a ton of glue on the back...just a dab.  And since you have the grid already laid out, you can slide the hearts around until the placement looks right.  I didn't measure anything for this project.  In fact, that was my requirement.  I didn't want to measure anything! ;)

After the first grid was done, I decided to use my next frame to write out an X and O.  Again, I just eyeballed the placement, and glued after I laid everything in place.


Once the glue dried, it was time to pop them into their frames, and voilà!  Instant Valentine's Day art for our mantel! :)


Now, before you go, please make sure you enter to win a $140 Target gift card and check out the 13 other amazing Valentine's Day projects!!  You won't want to miss any of them! :)

Target gift card giveaway a Rafflecopter giveaway Valentine's Day Projects 1
Valentine's Day Projects 4
Valentine's Day Projects 2
Valentine's Day Projects3

Monday, September 16, 2013

Making A Statement With Hardware.

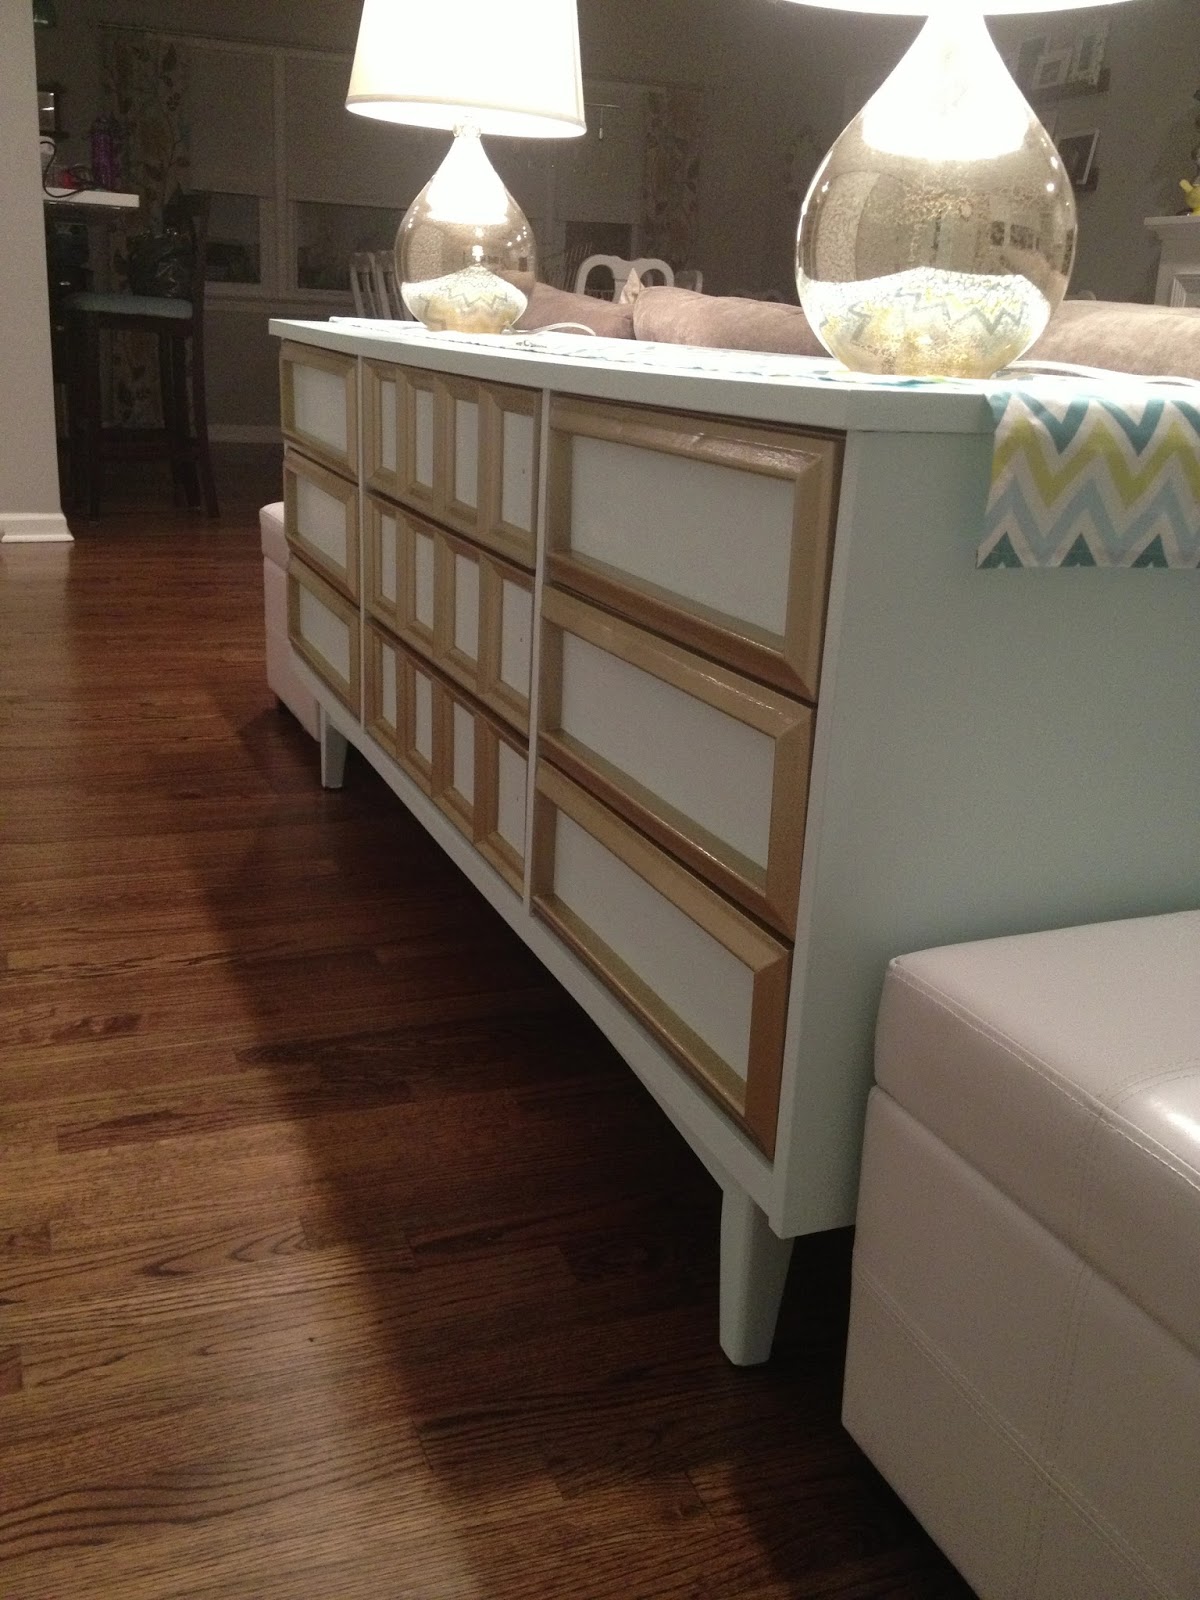
Sometimes things just don't play out like you thought they would.  I was mid-makeover on my dresser-turned-console, and was convinced that I had to paint the drawer detail gold, because it'd pop and be fabulous, and I'd love it until the day I died.


Then I painstakingly taped off the drawers so I could spray paint the detail gold.  


And guess what?  I still loved it!


As the drawers dried in garage, I thought I was a genius!!  I couldn't wait to get the drawers upstairs and in place.

And then I actually put the drawers in place...eeek.  Once the first one went in, I knew I made a terrible mistake painting the detail.  I hated how it looked.


I begged and pleaded with myself, with my Insta-friends and even my hubby to make myself like it.  I tried to sit with the piece for a few days, I even rubbed and buffed the old hardware to see if adding that would make a difference.


Sadly, it did not.  I couldn't stand it.  {Insert tiny violin playing pity music here.}  At that point, I really wanted to throw myself on the ground and act out a toddler-tantrum.  Instead, I went into the basement, found my latex primer, and started covering up the gold.


After primer...


After going back to blue...


The drawer fronts looked SO much better after I lost the gold, but they still weren't making the statement I hoped for. They needed something to set them off and finish the look.  Luckily, I came across some amazing hardware that saved the day makeover.

Have you guys ever checked out Nest Studio's hardware?!?!  If not, you MUST.  Every single product is beyond fabulous.  Each piece of hardware is like a work of art in itself.  I had trouble narrowing down my choices, but after much debate, I settled on the solid brass faceted knob.


The size, color and shape of the knob was perfect for the dresser.  It was just what I was looking for!  They totally make the piece, don't you think?


Jess is the founder of Nest Studio.  Head on over to her blog to see more of her amazing style! :)