Once our walls went dark, I really fell out-of-love with our large leaner mirror. It blended in with the walls and didn't provide any pop.
I solved that problem the same way I solve 90% of my other problems....with some leftover paint!!
For our master bedroom refresh, I knew I didn't want to completely rid our room of my signature teal color, so rather than have an accent wall covered in Behr's Balmy Seas, I wanted to incorporate it using accessories and accents. That gorgeous shade of teal would be the perfect hue to make our old mirror come to life again.
I took it outside, spray primed and painted it with a leftover paint sample.
Once that was done I got out my Citri-Strip gel, coated the over-spray and used a scraper to clear the mirror surface. (Yes, I was lazy and didn't want to cover and tape before I primed, so I had to strip later.) After that, I used Minwax's polycrylic in semi-gloss to cover and protect the paint.
And voilĂ ...a new mirror!
I think it looks great against our dark walls, and all dressed up for the holidays... ;)
Can't wait to share more details soon!!!
Wednesday, February 11, 2015
Friday, February 6, 2015
Quick DIY Cork Coasters.
Here and there I've been working on our master bedroom refresh. I promised myself and even declared to the blog-world that I would finish the space by the end of the year, but it just didn't happen. I'm getting close. As you can see here, it's all about the details now. Once I check a few more things off my to-do list, I'll finally be D-O-N-E!!!
The thought of ruining one with a water ring makes me cringe.
What's left, you ask? Finding the right pillows (I've been on the pillow hunt for more time than I want to admit...I've fallen in love, but my budget never got the same warm and fuzzy feelings), DIY'ing some jewelry storage, pretty-ing up our exposed lamp cords (with paint or a DIY cord-cover project) and a DIY art canvas.
Since I've talked enough about what ISN'T done, let me prop myself back up on what I've actually finished: upped the cozy factor in our room with dark walls, installed our DIY lucite curtain rods, painted our DIY curtains, hung our TV gallery wall (sneak peek here), stenciled our gloss-on-matte accent wall (sneak peek here), hung our wall lamps, swapped out our focal point mirror, painted our old leaner mirror and DIY'ed some simple coasters for our nightstands.
You see, hubby and I drink a ton of water...and every night we each have a bottle or glass of water next to us in bed. Normally I wouldn't be such a freak about putting a drink on a side table, but these "nightstands" are one of my favorite Craigslist makeovers I've ever completed.
The thought of ruining one with a water ring makes me cringe.
So the easiest/cheapest/most-stylish solution I could come up with was painting a 4-pack of cork coasters from Michael's.
This project took all of 10 minutes, is embarrassingly easy and pretty much self-explanatory, so I feel silly even posting about it, but hey, I love how they turned out...so why not show them off?!
First, I gathered my supplies: 1) the coasters, 2) some left over paint samples and acrylic paints, 3) old paint brushes, 4) painters tape, 5) liquid gold leaf, 6) Krylon clear finish spray and 7) an old piece of cardboard to paint on.
Then I taped off different areas on the coasters and started painting! I didn't have much of a plan for shapes or color placement. I just crafted without thinking or measuring.
Once everything was painted, I used a Krylon clear spray to lightly coat each coaster 2 times to protect my award-winning paint job.
After the coasters dried, they were ready to go! I love the colors and how pretty they look compared to the folded over paper towels we were using. ;)
High-five for super-simple, cheap projects!!!! Happy Friday, friends! :)
Wednesday, December 24, 2014
Thursday, December 11, 2014
More of Our Christmas Home...
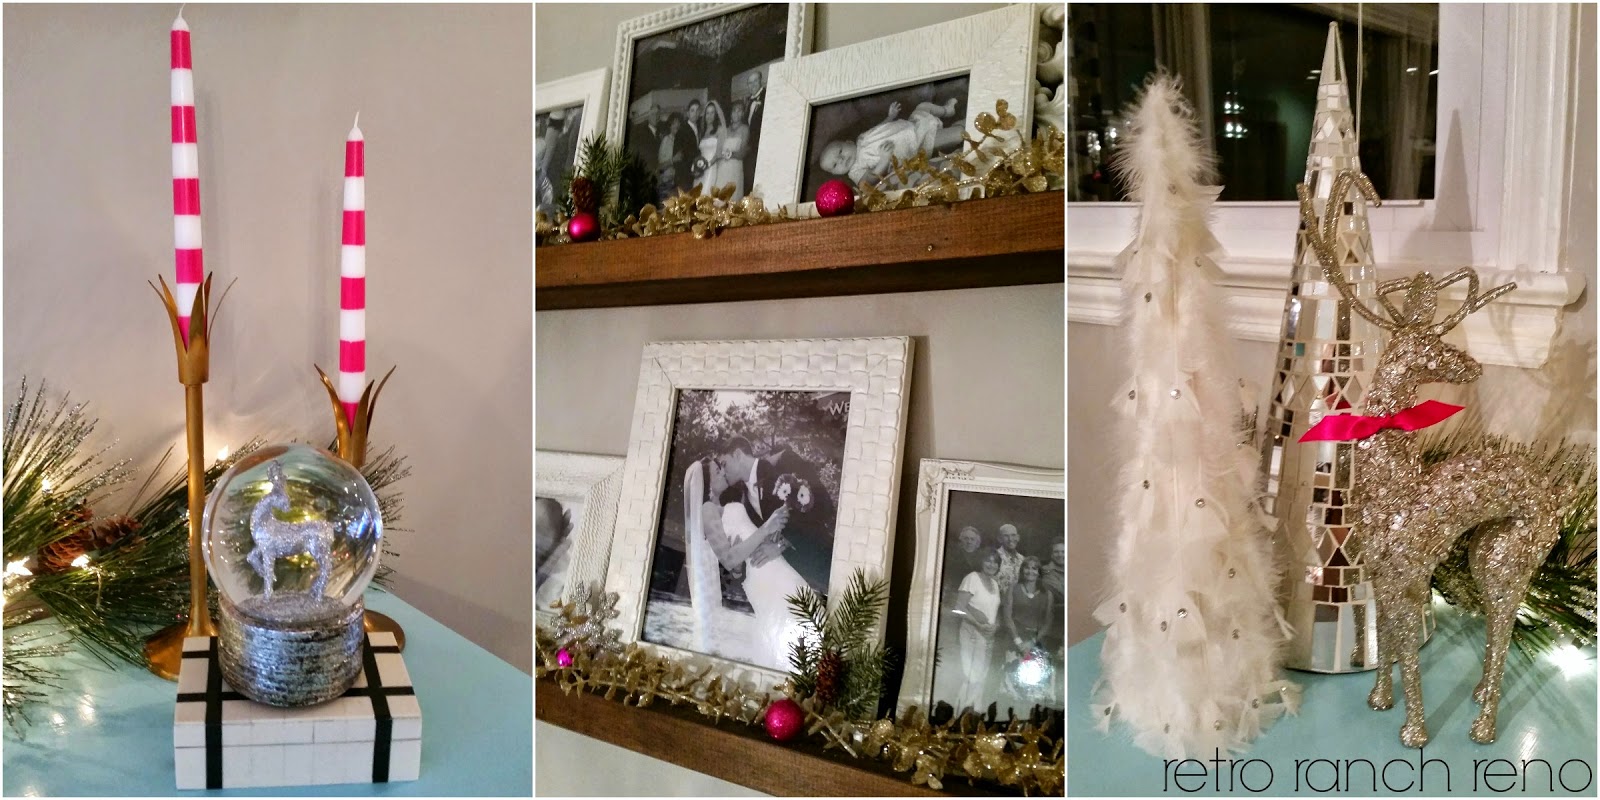
Our great room wasn't the only place that got the holiday treatment this season. I love to spread the Christmas cheer throughout our whole house...including our master bedroom. I don't decorate much in there, but the few additions I make sure enhance the cozy feeling I get while snuggling in bed. Everything is better with some string lights...am I right?!
Do you guys decorate your bedrooms too?! What is your favorite area of the house to decorate? Don't forget to check out our great room all decked out here! :)
Wednesday, December 10, 2014
Our Christmas Home Tour | 2014
Ahhhhhh, it’s that time of year again….the Christmas edition of Lindsay's Blogger Stylin’ Home Tours has arrived!!
It’s one of my favorite blog hops!!
If you settle in to check out each post, you’ll surely see why. It’s a fantastic collection of holiday cheer. All of the participants set the bar so high
and leave me with so much inspiration! I
mean, did you see Diane’s home?! If you are coming here from In My Own Style, then you know it is just stunning!!! I’m talking magazine-worthy, people! For real...she was featured in BHG’s Special Interest Publication Christmas Ideas!!
Seeing homes like hers, and all the others on the tour, can cause me to dream up some pretty lofty decorating ideas in my head. There is just so much beauty that can be created...I can't help but want to transform our holiday home into something new each year. Of course, this goes against not only our budget and our storage capabilities, but also against my whole "less is more" way of living I'm trying to focus on.
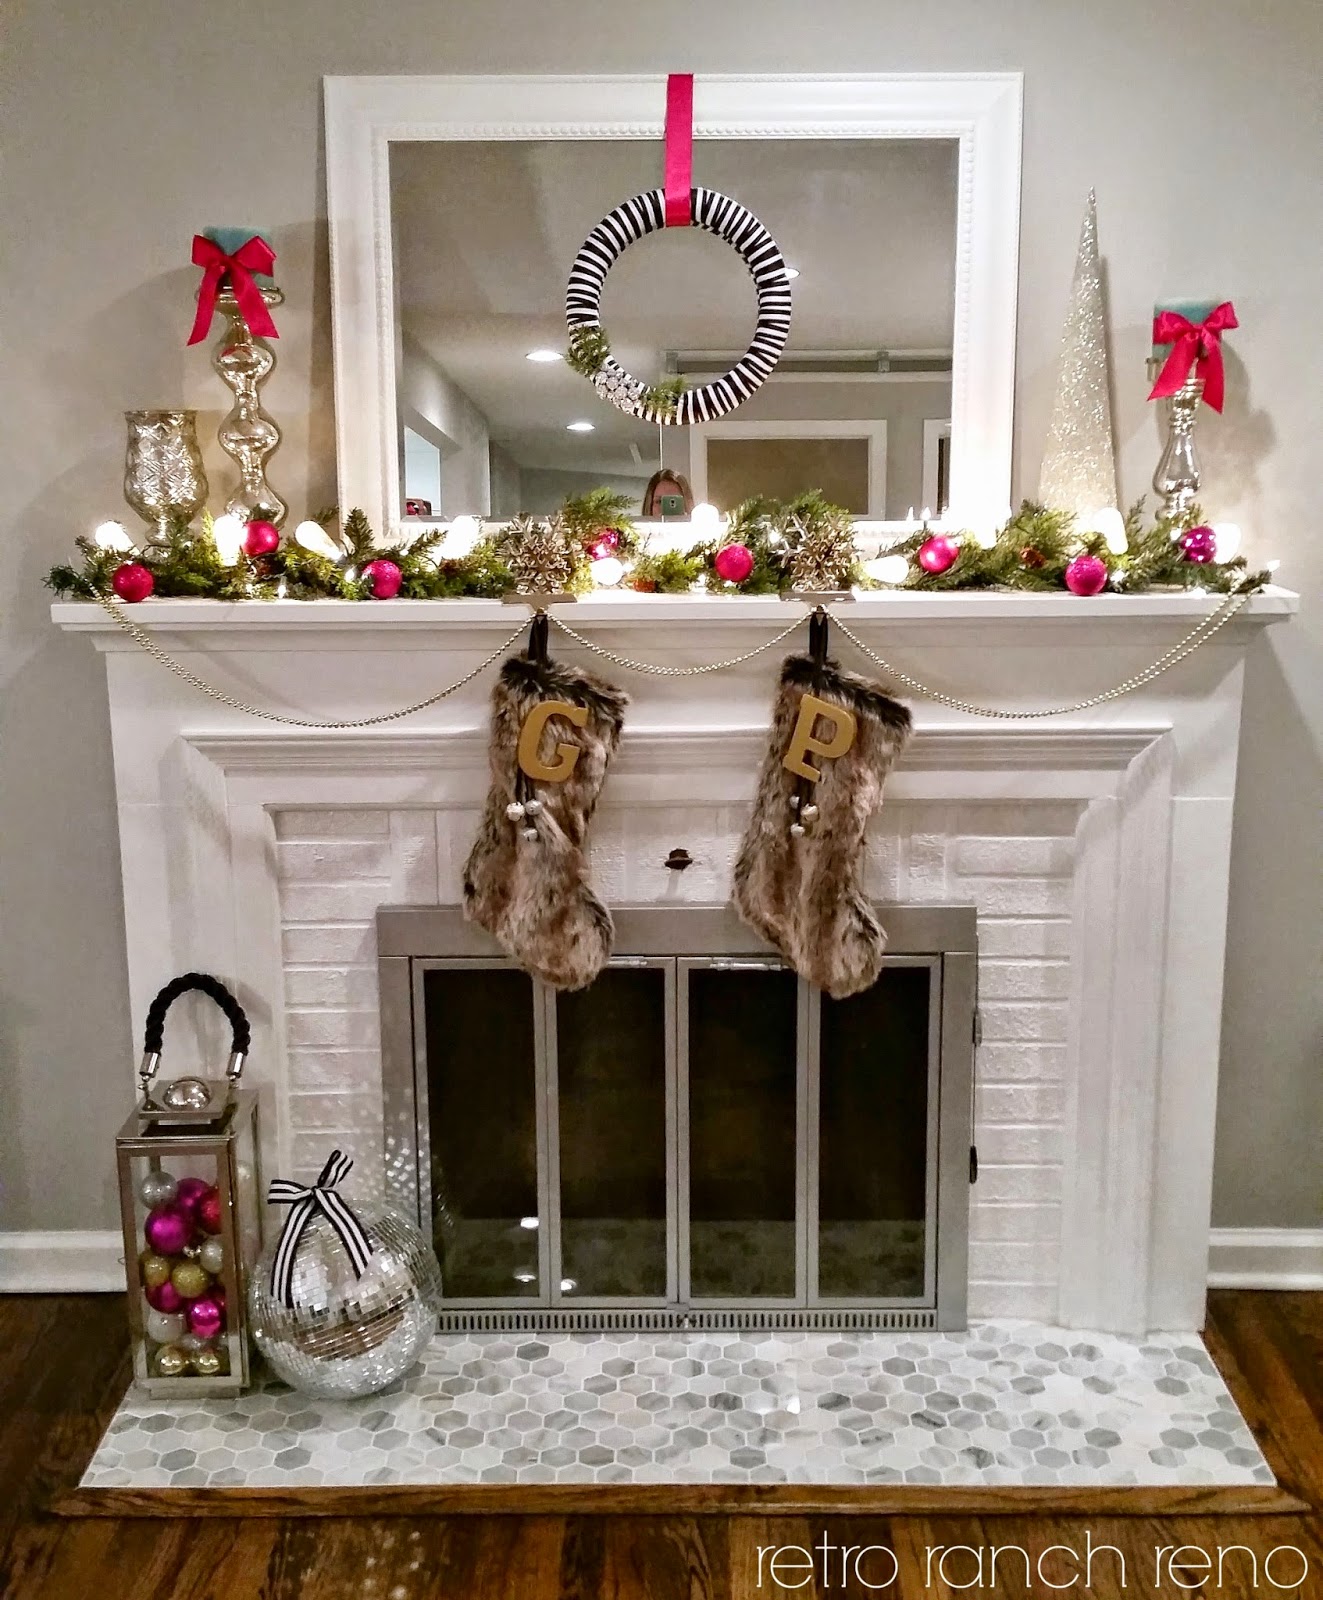
Thankfully, there are ways to get a fresh look each year without going out and buying all new decor. Last year our home was all about the traditional red (with some black, white and sparkle, of course). This year, I wanted to continue my love of bright colors for the holiday season...so I focused on pink!! I was a little nervous that hubby wouldn't be a fan, but I can safely say, he approves. :)
So how can you transform your decor without breaking the bank? I do it in a few ways:
1) Buy a base of decorations that are "neutral" for you. And no, that doesn't mean they have to be a neutral color...they should just be a basic color (or colors) that you will use for many years. For me, I have a base of gold, silver, white, black and disco ball decorations/ornaments that make an appearance every year. From there, I can add other colors, or just stick to those few to create my scheme. If you look online and in your local dollar stores, you can find shatterproof ornaments in almost any shape and color. The ornaments won't be something you'll pass down to your children, but they sure will make a statement on the cheap! :)
2) Have a good base of greenery. I use faux garland, wreaths and trees in our home and then swap out what I swag them with to create a new look each year. I never buy anything full price and always look for sales. Michael's usually runs a 50% off sale on their Christmas decor, and there are great online wholesale craft and Christmas shops to purchase wreaths, garland, etc. Of course, you could use real greenery here too....we've just opted for the fake stuff in our home.
3) Put a bow on it. Ribbon is one of my go-to's to create a cohesive color scheme throughout a space. You can add it to almost anything to tie elements together. Plus, it's relatively inexpensive. Michael's frequently runs big sales on ribbon, and I stock up then.
4) Create small DIY projects. Whether it's making a wreath, painting an abstract art piece or sewing a quick table runner...I don't shy away from doing a small DIY project that will add a little something to our decor. These small dollar projects can sometimes add high impact to a space.
5) And when in doubt, spray paint it. I'm never afraid to spray paint something to make it work for me. It's a powerful weapon to have in your decorating arsenal. ;)
Using several of my tips above, I created a simple, and pink, holiday home this year!!
I hope you enjoyed what you saw, and definitely keep the holiday fun rolling by heading to Iron & Twine. Michelle's home will not disappoint!!
*********************************************************
Full Tour Schedule:
Monday, December 8th:
The White Buffalo Styling Co.
Inspired by Charm
Bliss at Home
Thistlewood Farms
Charming in Charlotte
Number Fifty-Three
Julie Blanner
Cuckoo 4 Design
Eclectically Vintage
The White Buffalo Styling Co.
Inspired by Charm
Bliss at Home
Thistlewood Farms
Charming in Charlotte
Number Fifty-Three
Julie Blanner
Cuckoo 4 Design
Eclectically Vintage
Tuesday, December 9th:
My Fabuless Life
Scout & Nimble
Primitive & Proper
Sand & Sisal
DecorChick
The Chronicles of Home
DIY Playbook
This, That, & Life
My Fabuless Life
Scout & Nimble
Primitive & Proper
Sand & Sisal
DecorChick
The Chronicles of Home
DIY Playbook
This, That, & Life
Wednesday, December 10th:
Desert Domicile
Design Post Interiors
Southern Hospitality
In my own style
>>>>>> Retro Ranch Reno <<<<<<
Iron & Twine
Desert Domicile
Design Post Interiors
Southern Hospitality
In my own style
>>>>>> Retro Ranch Reno <<<<<<
Iron & Twine
Thursday, December 11th:
Jones Design Company
Finding Home
Jen Rizzo
Home Stories A to Z
Dimples & Tangles
Simple Stylings
Run to Radiance
The Thriftress
Jones Design Company
Finding Home
Jen Rizzo
Home Stories A to Z
Dimples & Tangles
Simple Stylings
Run to Radiance
The Thriftress
Friday, December 12th:
Inspired Room
Beneath my Heart
DIY Showoff
Just a Girl
Rain on a Tin Roof
Eleven Gables
Burlap and Lace
Sarah M. Dorsey
Inspired Room
Beneath my Heart
DIY Showoff
Just a Girl
Rain on a Tin Roof
Eleven Gables
Burlap and Lace
Sarah M. Dorsey
Subscribe to:
Posts (Atom)


.jpg)
.jpg)

.jpg)
.jpg)


.jpg)
.jpg)