Showing posts with label remodel. Show all posts

Wednesday, September 30, 2015

Our Rancher: Before & After - The Master Bedroom.

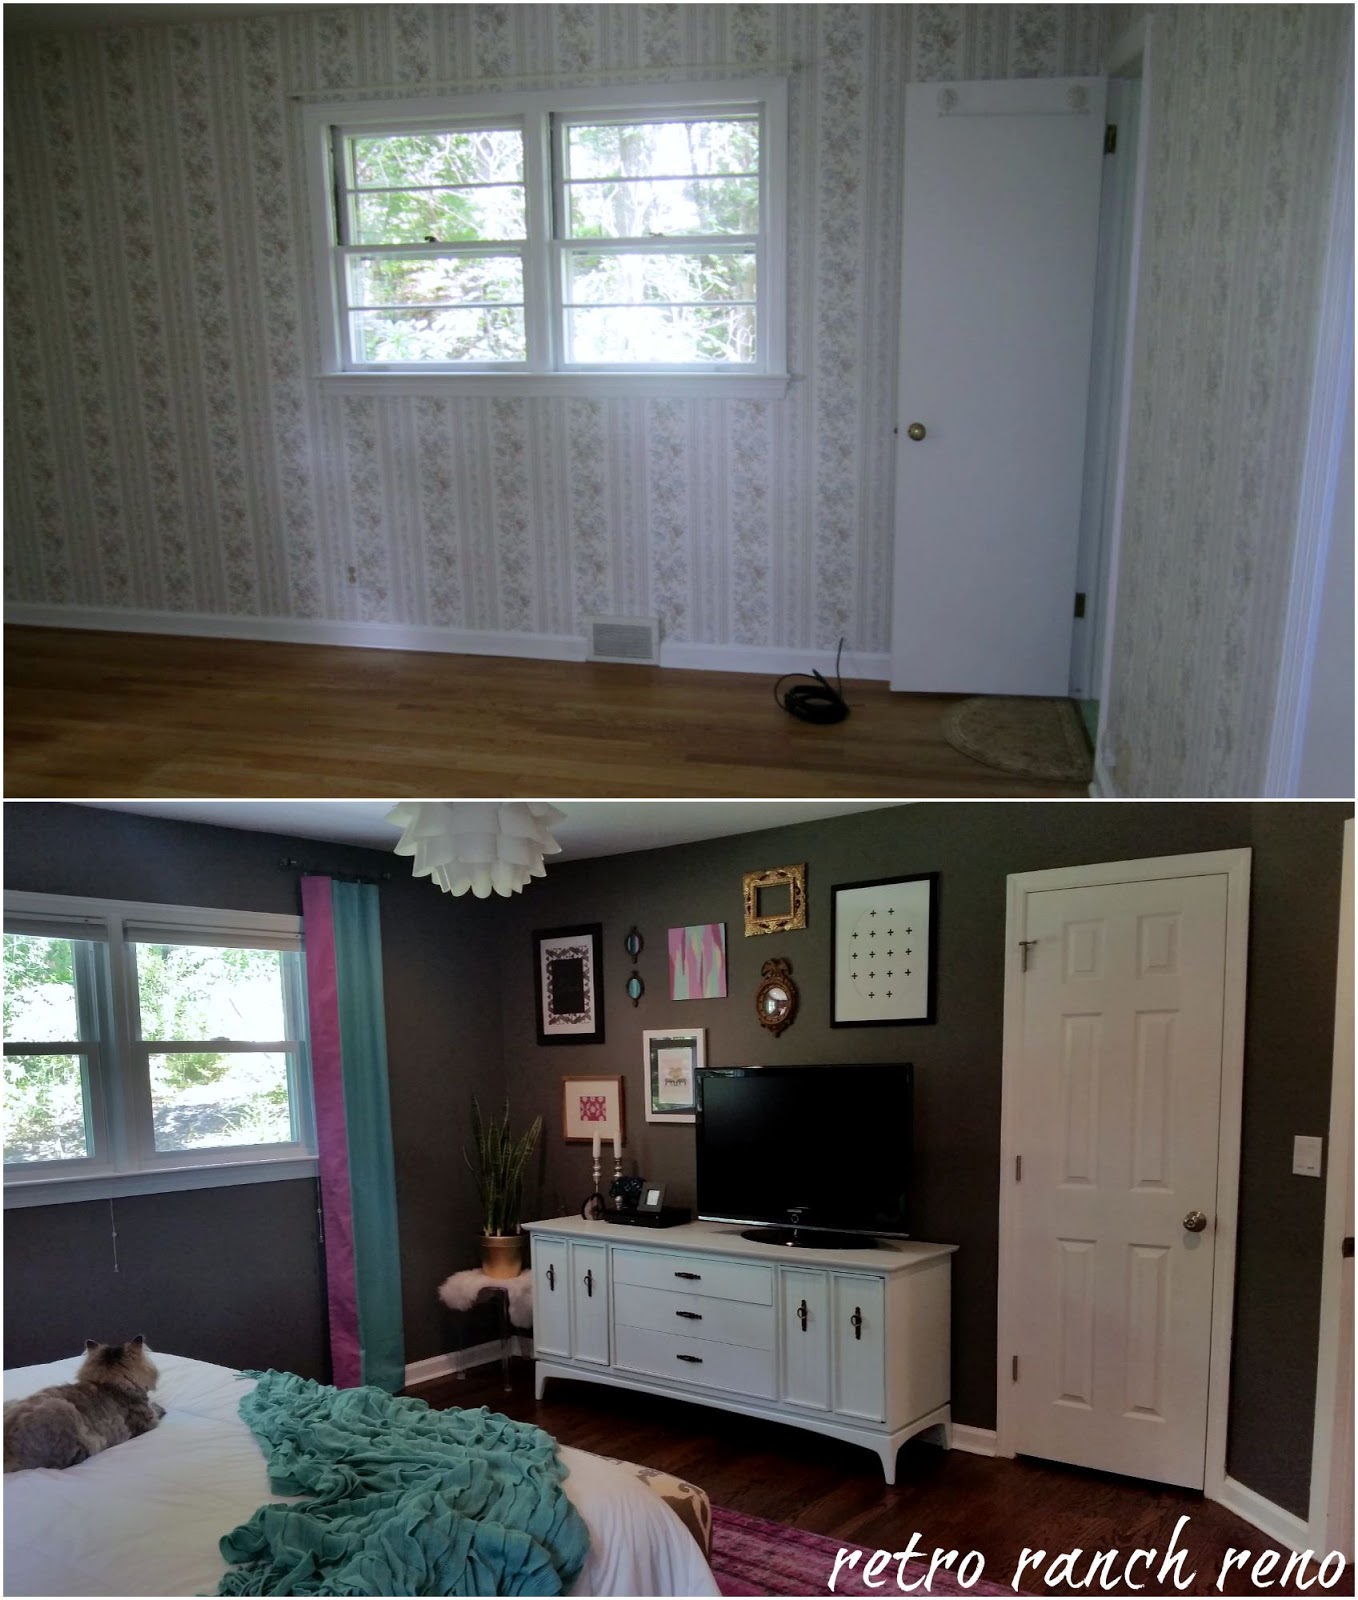
Here we are...post #9!  After a rather underwhelming post about our guest bedrooms, this post has been a long time.  I've "revealed" our master bedroom a few times, but things never felt quite right to me.  I've been working on it's latest transformation (so. very. slowly....blame it on the hypothyroidism ;)...) for well over a year.

Like I mentioned in my hall/guest bath post, we added our original master bath and part of our largest master closet to renovate the hall/guest bath.  Since neither of those spaces were very "masterful", I had no problem giving them up...especially since I had plans to turn our third bedroom into our ensuite.

Here are some floor plans to help you visualize it all:

Before:


After:


Besides creating our master ensuite, we removed some wallpaper and glue (ohhh, the glue...THANK YOU, MOM!!!), painted the walls, refinished the hardwoods, replaced the doors and windows and added some lighting.


Don't worry, I'll be posting a more-picture-filled-reveal after I wrap up this super fun series.

And if you are behind on it all, catch up with post onetwothreefour, fivesixseven and eight.

Friday, September 25, 2015

Our Rancher: Before & After - The Guest Bedrooms.

Andddddd, I'm finally picking the series back up!!!!  Can you believe this is the 8th post in my before and after series?!  I can't!!  If you are just catching up, make sure you check out the intro and parts onetwothreefour, fivesix and seven.

Now that I've covered the guest/hall bath, it's time to show the guest bedrooms.  This post is probably the most underwhelming of the series.  Whomp, whomp.  Why?  Because we haven't made any major changes to these rooms.

Well, I guess that's not totally true.  Our third guest bedroom radically changed...from a bedroom to our ensuite!  That's right...two walk-in closets and our master bath!  What the what?!?

Remember when we added our original master bath (and part of the largest original master closet) to enlarge our small hall/guest bath?  We were able to do that since we were stealing our third bedroom to compensate.  Here are the floor plans again better illustrate...

Before:


After:


You'll see all that goodness when I reveal our master, but for now...it's all about our underwhelming bedroom #1 and #2.  (You're excited aren't you?!?!)  Both rooms received new windows, doors, paint, a light/fan combo and refinished hardwoods.  The first space is halfway presentable because it's the room my parent's call home when they come visit.


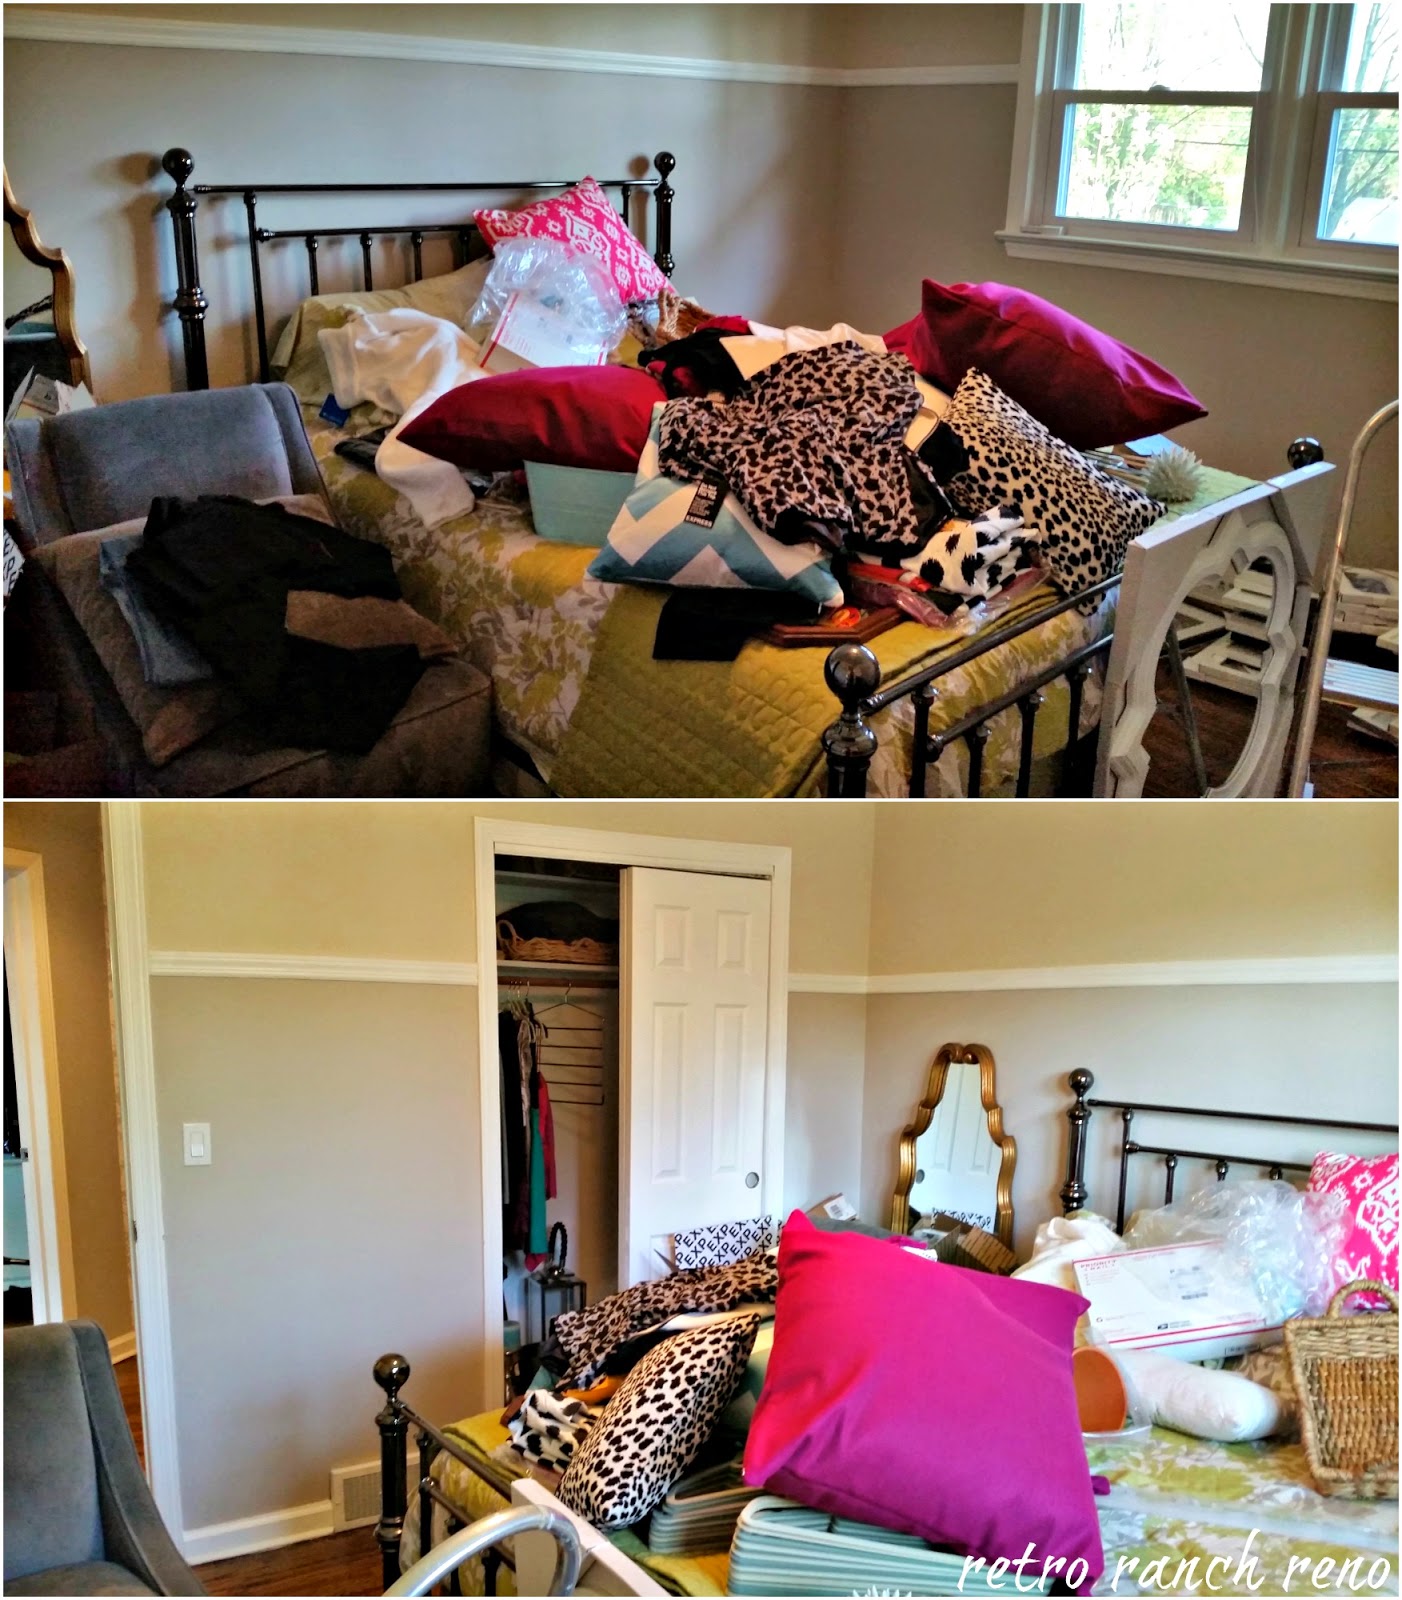
The second space, welp, I'm just keeping it real.  At first it was a smidge of an improvement....


But now, yeaaaaaa, it looked much better in the "before".


This space is where all my half-worked-on-crafts, maybe-going-to-start-one-day projects, extra decor and random junk live.  It's not pretty, but it's real life.  I'll get my act together one day, and actually paint this room a color I like, but I'm pretty sure I won't do it until we have a child to put in there. Embarrassing?  Yes.  True story? Yes, again.

Don't worry....after this less than stellar post, I'll be sharing our master next!  I've re-worked this room more than any other in our home, and I think it's safe to say, I'm finally loving the outcome!  Stick around! :)

Thursday, May 28, 2015

Our Rancher: Before & After - The Guest/Hall Bath.

This before and after is a little tough to illustrate.  Our former hall/guest bath was tight.  The doorway was narrow...the vanity was too big for the space.  It was from the 1950's and not comfortable to use.

Our master bath was even worse.  It was also original to the house, much smaller, had a sink too small to ever wash your face in, the shower was leaking...and, well, I'm pretty sure you could be sitting on the toilet AND washing your hands at the same time.

So yay for having two bathrooms (we previously only had one), but booooooooo that neither worked for us.  Thankfully, they backed up to each other, and were right next to a master bedroom closet.

Here is the floorplan before:


Legend:
(1) – Stairs to the Basement
(2) – Hallway Coat Closet
(3) – Linen Closet #1
(4) – Linen Closet #2
(5) – Main Bath
(6) – Master Bath
(7) – Bedroom #1 Closet
(8) – Bedroom #2 Closet
(9) – Bedroom #3 Closet
(10) – Master Bedroom Closet #1
(11) – Master Bedroom Closet #2

And here is it is after we combined the two bathrooms and stole a little bit of master bedroom closet #1:

Legend:
(1) – Stairs to the Basement
(2) – Hallway Coat Closet
(3) – Linen Closet #1
(4) – Linen Closet #2
(5) – Main Bath
(6) – Bedroom #1 Closet
(7) – Bedroom #2 Closet
(8) – My Closet (Master Bedroom Closet #1)
(9) – Hubby’s Closet (Master Bedroom Closet #2)
(10) – Master Bathroom
(11) – Master Bedroom Closet #3

Hopefully those explanations and floor plans can help you visualize the transformation below.  And considering our renovations were done on a tight budget, I think this bath turned out great!!

Bye-bye 1950's....


I love how spacious this bathroom is now!

Make sure you're all caught up with our before and after posts herethe intropart onetwothreefour, five and six!


Friday, May 15, 2015

Our Rancher: Before & After - The Hallway.

I'm sure some of you are thinking that a hallway does not deserve it's own "before and after" post...especially in our humble ranch.  In many homes, they are merely a walkway to get from point A to point B.  And while that is true, our view has changed quite a bit from when we signed on the dotted line.

Removing a few walls, adding some pot lights and a stencil (or two) has definitely improved our modest hall.  I still have manyyy picture frames to hang here before I can call this "complete", but it's getting there.


Not too bad, huh?  I can't wait to share our guest bedrooms and bath!

And catch up on the rest of the "then and now" series with these links...the intropart onetwothreefour and five!

Monday, May 11, 2015

Our Rancher: Before & After - The Fireplace.

At first glance, you'd think our fireplace was hopeless.  It was like the rest of our house...depressing, drab and outdated.  I was just thankful to have a fireplace and knew, with a little effort, it wouldn't be so bad!

Truth be told, I'm hoping this isn't a true "after" for you guys.  I dream of installing a gas insert, and maybe a bit more trim.  It's already become one of my favorite focal points in our great room, but I know in my heart it can get even better!!

With a little paint and a lot of courage (to tackle my first tiling job), our fireplace went from bleh to beautiful!


Don't forget to check out the intro, part one, two, three and four of our rancher "before and after" series! Next up is our hallway...aka my stenciled labor of love. ;)

Thursday, May 7, 2015

Our Rancher: Before & After - The Kitchen.

Sorry for the mini-break I took to reveal my DIY jewelry organizer...but it's back to the before and afters! (Insert round of applause here.)

This series has been a blast to put together!  I hope you guys are enjoying it too.  If you've missed the intro, part one, part two or part three, make sure you catch up!

Now it's time to show how our dark, closed-off kitchen became a bright light in our home.  I may have mentioned before that I'm so ready to overhaul our 1954 cabinets...but until we a) hit the lottery, or b) save up the funds, I, at least, have a pretty kitchen to look at. ;)

Our kitchen hasn't changed a whole lot since I revealed the renovation, right after we moved in,so here's a little refresher...

We couldn't afford a new kitchen, so I made it look as new as possible.  We painted the cabinets, added new hardware, ripped out the linoleum and continued hardwoods throughout. We removed the restaurant booth (yes, I said restaurant booth) and used the cabinet from the back side of it to create an island.  We also added lighting, new appliances, a new backsplash and countertops.  It made a world of difference, and I couldn't believe how great our 1954 kitchen looked.


What do you think...should we have just kept the old look?! ;)

Monday, May 4, 2015

Our Rancher: Before & After - The Dining Room.

I've talked about the inspiration behind this little series, posted part one, posted part two and now it's time for the dining room.  Like our living room, this space needed less walls, new windows, no more shag and some serious lighting.


I'm sure you can guess the next stop will be the kitchen! ;)

Thursday, April 30, 2015

Our Rancher: Before & After - The Living Room.

The curb appeal and entrance were certainly not the only areas of our home that needed a total overhaul.  In part two of my little "before and after" series, it's all about the living room portion of our great room.  The wall...the outdated doors...the old windows...the shag carpet...it all had to go!


If you missed the intro and part one of the series, you can catch up here and here.  Next up is our dining room "then and now"!

Wednesday, April 29, 2015

Our Rancher: Before & After - The Entrance.

I know the title reads "before and after", but the series of posts coming your way are truly more of a "then and now".  Why is that?  Well because I'm never done re-decorating and styling our home. I mean, you already heard my dreams to renovate our 1954 cabinetry.  Yes, one day I will see my kitchen dreams come to life!!  But, anyway, I digress...

Back to the fun stuff...the transformation thus far!!

Our home was a little...ummmm...frightening when we bought it.  "Hot mess" is a phrase that also came to mind.


Ahhhh, our diamond in the rough!  Our home was so far from welcoming.  We took it from dark, overgrown, stained, cramped and closed off to happy, light and bright!


Much better, don't you think?!?

Next up...the living room portion of our "great room"!